
This post may contain affiliate links. These links cost you nothing and allow us to keep rolling along and bringing you more helpful content.
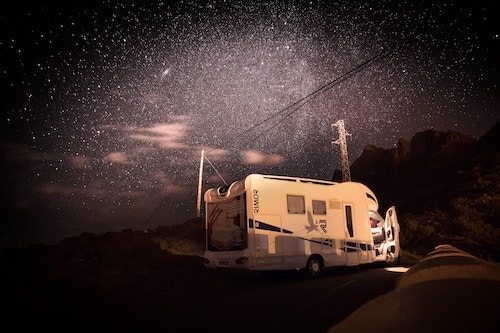
For as long as I can remember, I always wanted to travel by RV.
And in 2015 that dream became a reality.
I’d never been in an RV before, let alone taken one on a 4500-mile trip! So, my husband and I had a lot to learn before we got on the road.
One of the best resources you will find out there are fellow RVers. Whether you are browsing online or at an RV park, most experienced RVers are more than willing to help out RV newbies. So never be afraid to ask for help, it could save you a lot of headaches and frustration.
Below I have outlined some key things to know before you go! It won’t cover every situation, but it should give you a good baseline. Also, this article is written from the point of view that you have already chosen your RV.
If you are still debating on which type of RV and whether or not to rent or buy, this article will still be helpful.
However, you may want to check out our other articles on renting and the differences between the RV classes.
Step 1 – Decide on your Budget
Outlining your budget is imperative, especially if you plan on renting an RV.
Below is an overview of expenses to take into account when planning your trip.
After your first trip, it may not be necessary to do a budget, but for the first time, it’s an excellent chance to see what things will cost.
I still do ours for our big trips but not for long weekends.
Rental Costs
If you are renting, this will likely be your most significant expense. Rentals have several different fees, such as mileage, equipment rental, roadside assistance, additional insurance, and rental duration.
Gas/Fuel
If you aren’t renting, this is likely to be the most expensive factor. We drive a 35 ft Coachman Mirada, motorhome, and average 6 MPG.
RVs are just like your everyday vehicles, some will get better mileage than others.
But unless you’ve chosen a class B RV, your MPG will be significantly lower than what you get on your vehicle.
To figure out how much money to budget for gas
- Go to Google Maps and put in your expected round trip route to find the number of miles you will travel. Then tag on a few more miles for side trips and errands. On our 3-week trips, I usually add another
- Check out Gas Buddy and figure out the average gas prices for where you are traveling. It can vary significantly from state to state. When I factor this, it is usually in the winter for a spring trip, so I round up because gas prices typically go up around Memorial Day.
- Find out your average MPG. You will usually be able to Google this if you don’t already have that information.
- Then pop your numbers into the KOA fuel Calculator.
Food
The next most significant expense is food. And that’s very dependent on how long you plan on being gone and how often you plan to eat out.
If you plan on cooking most of your meals, it will be similar to your home grocery bill. On a 3-week trip, we usually budget close to $500, which includes random snacks we don’t need but always buy, eating out a couple of times, and groceries.
Note: If you plan on eating most of your meals out unless you have a personal vehicle plan ahead to ensure there will be ample parking for your RV.
We buy our drinking water; it’s a personal preference. But for those who can taste the different nuances in water, such as well water versus city water, you may consider picking up a couple of gallons to have on hand.
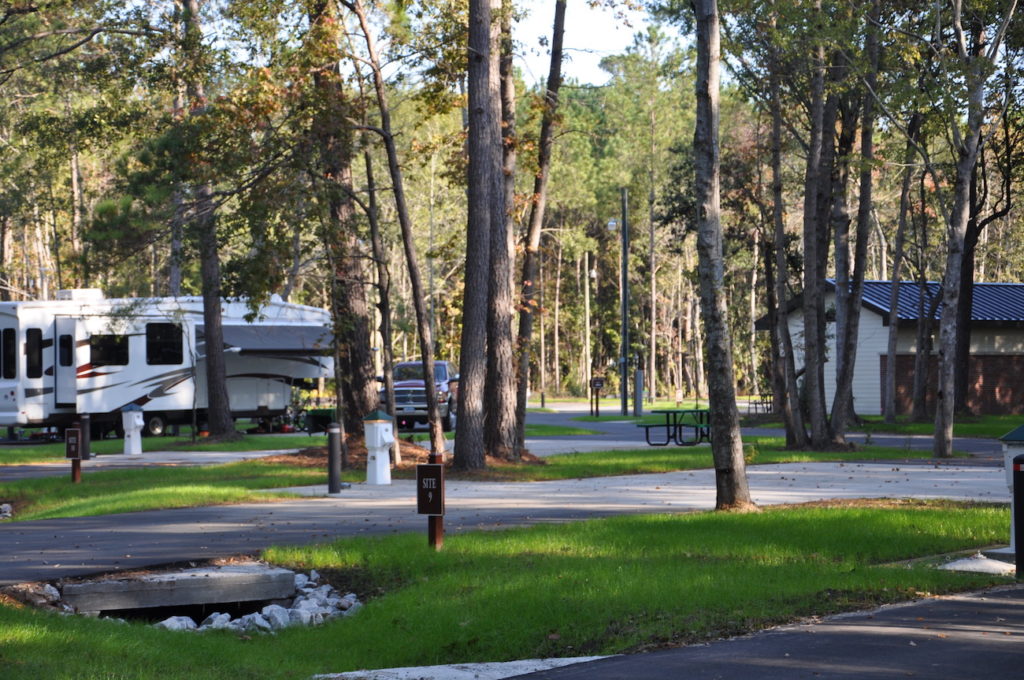
State or National Park Campgrounds or RV Parks
Now that you have figured out the rental, fuel, and food, you can decide how much you want to allocate for campgrounds.
Factors to consider when choosing where to stay, as it pertains to budget:
- Some RV parks have a lot of great amenities but will cost more than state or national parks that have fewer frills
- Amenities /Frills are things like onsite pools, restaurants, and laundry
- If you are traveling with pets, some RV parks charge extra for them, so you will want to check to see if there is an additional cost
- State parks do not charge for pets
- Hookups often cost you more but are well worth the expense
A great way to save money at RV parks is to get a Good Sam’s or a AAA membership to take advantage of the discounts included in the clubs.
Some of the discounts include RV parks and Auto Part Stores.
Also, if you are looking to cut costs a bit, consider overnight at a Wal-Mart. When we have a long haul sometimes, we will drive as far as we can and sleep at a Wal-Mart instead of finding and paying for less than 12 hours of campsite time.
Miscellaneous
Things that fall into this category include souvenirs, sightseeing costs, and other fun activities.
Step 2 – Decide Where You Are Headed and Book Your Campgrounds Don’t Wing It
There is the temptation to wing it and let the road take you where it may, but for your first trip, book ahead and save yourself some headaches and frustration.
Depending on where and when you plan to travel, it may be difficult to vacancies at campgrounds.
For example, there are a handful of state parks we book well in advance, sometimes even 12 months, and we still don’t always get the campground we want.
Tips for Picking Your Campgrounds
- Make sure you check the maximum vehicle length; don’t base it on the driveway length. The vehicle length is determined not only by the campsite but also the ability to maneuver into the site.
- We made the error of assuming it would be okay, but there was a tree in the way that prevented us from making the angle needed to pull into our site, lesson learned. Sometimes you can make it work, but for your first outing, use the dimensions posted to determine if the site will work or not.
- Hookups electric, sewer, and water – Not all parks have hookups, but the majority will have 1 or 2 options. You don’t need hookups to stay, but it makes things more comfortable if you have them.
- Check the weather before you book if you are staying in AZ and it’s going to 100°F+ you will want electric to run the AC, dry heat or not 100°F is pretty darn hot
- Pets – If you are staying at an RV park, check their pet policy. Some have a dog breed, size, and quantity restriction. Additionally, some do not allow cats, even if they are strictly indoors.
- Check if the RV park as age restrictions. Some RV parks have a minimum age restriction of 55 years old.
- Traveling with kids, you might consider a campground that has a park or offers activities for kids.
- Amenities – Private RV parks range from bare-bones to spas.
- General plans – We choose state parks for a variety of reasons, but one of the biggest is because we love hiking. Being able to walk from your campsite directly to the trails is a huge convenience, especially since we don’t tow an additional vehicle. So, pick a place that is close to the activities you plan on enjoying.
- Choosing your site is almost as important to us as choosing the right park. If you hope to use the park facilities to decrease your water usage and extend the time between needing to dump your tanks, you will want to find a site closer to the bathrooms. However, if you have dogs that enjoy alerting you to people walking by, you will want to steer clear of those higher traffic areas.
- National Parks – I would love to stay at a national park, but because we travel and hike with our dogs, we avoid them. Most national parks have strict hiking restrictions when it comes to dogs. Even when leashed, most national parks do not allow dogs on trails. A few parks have dog-friendly trails, but often have a one or two dog limit, we have three, so it’s easier to hike state parks instead.
- If you plan on staying at multiple campgrounds, try to keep your drive days under 10 hours, and do your best to get to your campsite before dark, it makes parking and set up a lot easier.
TIP: Before booking your campgrounds, plan your route first.
Step 3 – Research Your Route and Put Together Your Driving Itinerary
Okay, stop laughing, it’s not as nerdy as it sounds!
If you are only heading out for the weekend, disregard this step, but if you are heading out for a couple of weeks with multiple stops, this is a step you won’t want to skip on your first long haul.
It is important to research your route in advance.
Putting together a plan will give you an idea of how long your drive days are, and it will provide you with a chance to locate convenient places to stop to restock, gas up, and dump tanks.
It might seem like overkill to consider where the Wal-Marts are on your route, but if you ever try parking at Kroger’s in town, you will quickly appreciate the giant Wal-Mart parking lots.
I’m not saying you have to plan every little stop, but it’s good to have an idea of where things are if you need them.
Also, there are a few stretches of road from time to time that lack gas stations, which is essential to know about in advance.
Tips for Planning your Route:
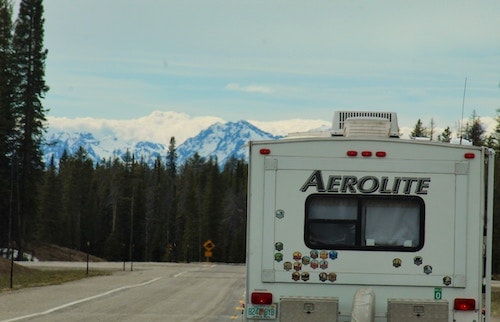
- If you are traveling to or through the mountains, understand the route, and check elevations and switchbacks. Not all roads going through the mountains are suitable for RV travel; in fact, some are best to avoid altogether until you are more comfortable with your rig. One such area would be Highway 16 going through the Bighorn Mountains, we opted for Hwy 14 instead.
If you’ve never driven on steep declines, you will want to understand the proper method of braking when traveling by RV. Trust me, you don’t want to be the RV with the smoking tires on the side of a mountain.
It didn’t happen to us, but we’ve seen RVers in this situation, and it is crazy dangerous – Know before you GO!
My husband was prepared to drive these roads, so he knew to downshift versus burning up the brake pads.
- Check for alternate routes as well – Our first year RVing we encountered several flooded roads.
- Sight Seeing Stops – One of our alternative routes allowed us to take the drive through Yellowstone, so though it added a few hours to our trip, it was well worth it.
- Don’t overdo it on driving days. Frequently, drive times take longer than what Google map shows. To be on the safe side, we usually tag an extra hour or two to the expected travel time. This also allows for stops for gas, food, and bathroom breaks.
- We will plan some of our drive days to shorter distance-wise, to allow us to make extra stops to replenish supplies, dump water tanks, refill our freshwater, blah blah blah boring…I get it, not fun and exciting, but worth taking into account.
Step 4 – Know What to Pack
I’m not going to go through every little thing, just some of the less obvious things that pertain to RVing.

- Hoses and electrical adapters for different hookups, if you are renting, I wouldn’t invest. When booking your site, you can see if they have 20, 30, or 50 AMP electrical hookups, which will sometimes require an adapter depending on how your RV is wired. These RV accessories can be found online, we like
- The Camco adapter
- Valterra High Pressure Drinking Water Hose
- Camco Sewer Hose (if you own an RV invest in a good quality sewer hose, trust me it’s worth it)
- Optional Camco 20 ft Sidewinder RV Sewer Hose Support (this is good to have if you are parked at a site with a sewer hookup)
- Have the correct TP and toilet treatments – RVs require special toilet paper that will break down in the tanks. Also, you will need to add a toilet treatment either in the form of a liquid or drop-in to help break down the TP and waste in the black water tank. The drop-ins are easier and less messy.
- Refrigerator/cabinet bars – I love these for the fridge and cabinets to avoid everything toppling out when you open the door. Not all cabinets will need them, so only buy a few to start with, you can always pick up more along the way.
- Tire Monitoring Device – You can use the standard tire pressure gauge, or you can invest in a more advanced system, but checking tire pressure frequently is critical to your safety
- Leveling Blocks
- Heavy duty gloves to deal with dumping the tanks
- Jumper Cables – Dead batteries happen
Step 5 – Put Together a Solid Tool Kit
I would bet good money you will need something from your tool kit if you spend a week in an RV.
I’m not saying the RV is going to fall apart, but accidents happen, and the reality is that RVs are not built like houses, they are made using lightweight materials to lessen the weight of the overall camper.
Important things to include:
- Duct Tape
- Wood Glue
- Lug Nut Wrench – This will most likely be a different size than the one you use on your truck
- Screw Drivers
- Wrenches
- Ratchets
- Spare Fuses
- WD-40
Step 7 – Get to Know your RV
Understanding how your RV works and where to find things is essential to a good RV trip. Plus, it’s a lot less stressful to figure these things out before you leave home.
- If you are renting or buying a used RV check your tires Date Code, poorly maintained tires are one of the biggest causes for RV accidents.
- Understand how the house batteries work – The house batteries will power a few things in the RV, but if overused, they will need to be recharged, or you will wake up to a dead battery, it happens.
- Understand how to hook up the water
- Understand how to dump your tanks – This is key, to ensure you don’t end up with a hideous mess. Also, you want to invest in a good quality hose. You do not want to deal with a hole in the tubing while dumping your black water tank.
- TIP Always dump the black water first, and the gray water second, this will help rinse out any unwanted debris left from the black tank.
- If you are unsure what to do, ask for help. Every RVer was new at some point, and when you’re the experienced one, you can pay it forward and help someone else out.
The first time we dumped the RV, it was Memorial Day weekend, which means a long line at the dump station. It felt like everyone was staring at us as we fumbled about to dump the tanks.
Thankfully the guy behind us quickly identified our newbie status and hopped out to help us. That is something we have learned about the RV community; RVers are always willing to help each other out.
- Learn and remember to check your tank’s capacity. You never want your gray and black water tanks to get too full.
- Know the dimensions of your RV, length, width, and height.
Step 8 – Take a Test Drive
If you are unfamiliar driving an RV, whether it is a motorhome, 5th wheel, or tow behind, it is best to get behind the wheel and go for a test drive[1].
The overall driving experience is far different than your regular vehicle, and if you are doing a tow-behind, the same applies.
Your truck will drive differently, and you will have different blind spots, so take the time to get comfortable with the new set up.
Step 9 – Put together a pre-take off checklist
- Double-check indoor and outdoor cabinet doors and drawers to ensure they are securely shut (check out my tips on how to keep drawers and cabinets closed while driving)
- Double then Triple Check the Awning make sure it is fully rolled in, and secured, if left even slightly loose it can begin to unravel and further loosen from the motion of the vehicle
- Check Your Tire Pressure frequently, on some RVs it can be a pain, but it is essential to check regularly. If you own your RV it would be an excellent investment to buy a Tire Monitoring Device
- Make sure that there isn’t anything loose and things are properly secured
Step 10 – What to do when you Arrive at your Destination
- Check-In – Each park is different, some request you check in even if you have reservations, others just allow you to drive back to your site. If you arrive after hours, there are usually instructions on how to check-in.
- Find your Campsite – If arriving late at night be courteous and turn down your headlights, parking lights are generally enough to see by
- Check your Site for:
- Low hanging branches
- Large rocks or other ground obstacles such as posts
- Trees or other structures that may impede your slide-outs or awning
- Locate the Hookups – You will want to park close to the hookups to make things more convenient
- Level and Stabilize the RV
- Hookup water, electric, and sewer accordingly
- Switch your appliances as needed. Our fridge does it automatically, but it’s always good to double-check.
- Check to make sure everything is clear inside to safely put out the slide-outs – I’ve made this mistake and was thankful we had tools to fix the panel. Additionally, when doing the slide-outs, you will want to listen for abnormal noises since the first tell something is wrong, it will be the sound like rubbing, grinding, crunching, squeaking.
- Rollout the awning and set up your camp chairs
When it’s time to go home do everything in reverse
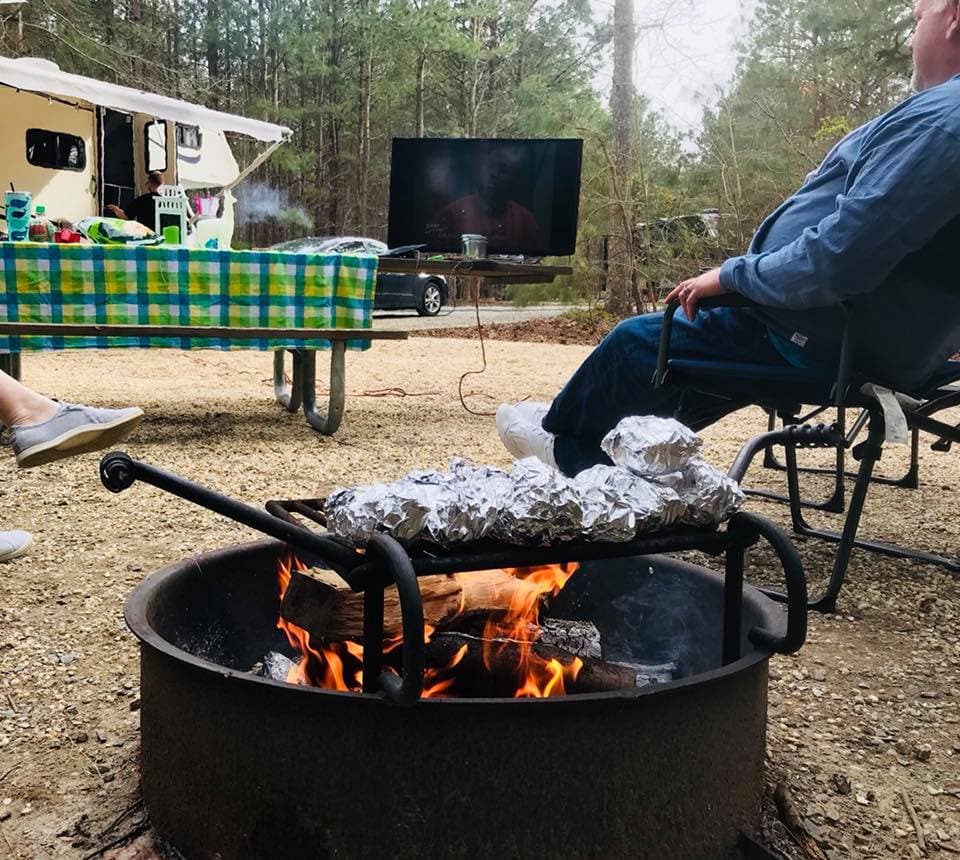
Step 11 – Take a Deep Breath, Relax, and Enjoy Your Vacation!
That’s it!